
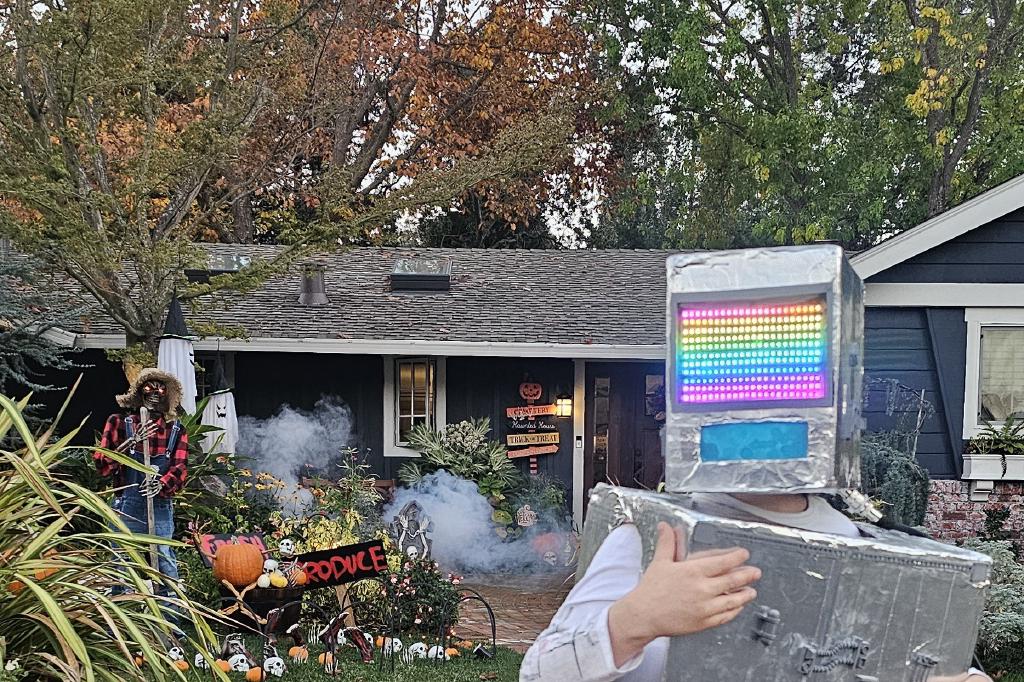
How My 7-Year-Old Son Vibe Coded His Halloween Costume
My 7-year-old son wanted to be a robot for trick-or-treating. That was a solved problem: cardboard boxes, aluminum foil, some duct tape. Classic. Done.
Then, I showed him this YouTube video. Big mistake!

A DIY see-through LED robot mask. Addressable LEDs behind a mesh, displaying animated faces and scrolling text. He watched it three times in a row, turned to me, and said “Dad, I want THAT one instead.”
I looked at the calendar. Two weeks to Halloween.
Vibe Coding an Embedded System
I had most of the raw ingredients already. A couple of ESP32 dev boards sitting in a drawer. A 3D printer. A soldering iron. What I did not have was a WS2812B LED strip, any firmware to drive a matrix display, or time.
The LED strip was the easy part. Amazon, two-day shipping, done. The firmware was the interesting part.
Ten years ago I would have spent those two weeks reading the WS2812B datasheet, figuring out the RMT peripheral timing on the ESP32, hand-coding pixel-by-pixel bitmap arrays, and debugging serpentine wiring patterns. I’ve done that kind of thing before.
But I had a 7-year-old client with a hard deadline. So we vibe coded it.
Vibe coding works well for web apps and scripts. Embedded C firmware for a microcontroller felt like a stretch.

We sat down with Cursor and Gemini and started prompting.
The initial setup — initializing the
ESP-IDF project, configuring the
espressif/led_strip managed component, getting a basic “hello world” to flash on the board — took about an afternoon. The AI handled the boilerplate and the CMake configuration without much hand-holding.
Then my son started having opinions about what the robot head should do. He wanted a jack-o’-lantern. He wanted it to say “BOO!” He wanted scrolling text. He wanted “the green rain from The Matrix.” He wanted Conway’s Game of Life (okay, that one was my idea).
Each animation was the same loop: describe it, let the AI write the C, flash the board, look at the LEDs, describe the fix. On October 26th alone there are 14 commits — “fix jack-o-lantern rendering,” “fix brightness scaling,” “fix BOO! message to display all three characters.” Most of it was my son saying the mouth needed to be more jagged, and me turning it into another prompt.
💡 The feedback loop is physical. You flash firmware and stare at LEDs. When the jack-o’-lantern looks wrong, you can’t inspect element. You go back to the bitmap array and move pixels around.
What Broke
The LED matrix started as 11×24. Then we realized the physical strip was actually 11×22 (242 LEDs, not 264). That meant every single bitmap had to be regenerated. The AI handled the tedious part — regenerating the arrays — but I still had to verify each one visually.
The screen orientation was wrong. The LED strip was wired starting from what turned out to be the bottom-right when mounted on the mask. We added a 180° rotation macro. That broke half the animations. We fixed them.
The font system for scrolling text needed characters we hadn’t defined yet. The exclamation mark for “BOO!” was missing. The letter ‘E’ had an extra bar in the middle. Each of these was a commit, a flash, a squint at tiny LEDs, and another commit.
The brightness was either blinding or invisible. We settled on 30 out of 255 (~12%), which sounds absurdly low until you do the arithmetic: 242 WS2812Bs at full white is about 14.5 A, which is well beyond what a small battery pack can source at all. At 12% an all-white frame is closer to 1.7 A, and the animations average well below that.
The 3D printed parts were the other half of the build. I designed a see-through mesh in FreeCAD — dense enough to hold the LEDs in a grid, but with enough gaps that a kid can actually see where he’s walking. Getting that balance right took a few iterations. Too dense and he’s blind. Too sparse and the animations look like abstract art. There’s also a snap-fit box to hold the ESP32 and battery pack.
What the Kid Actually Did
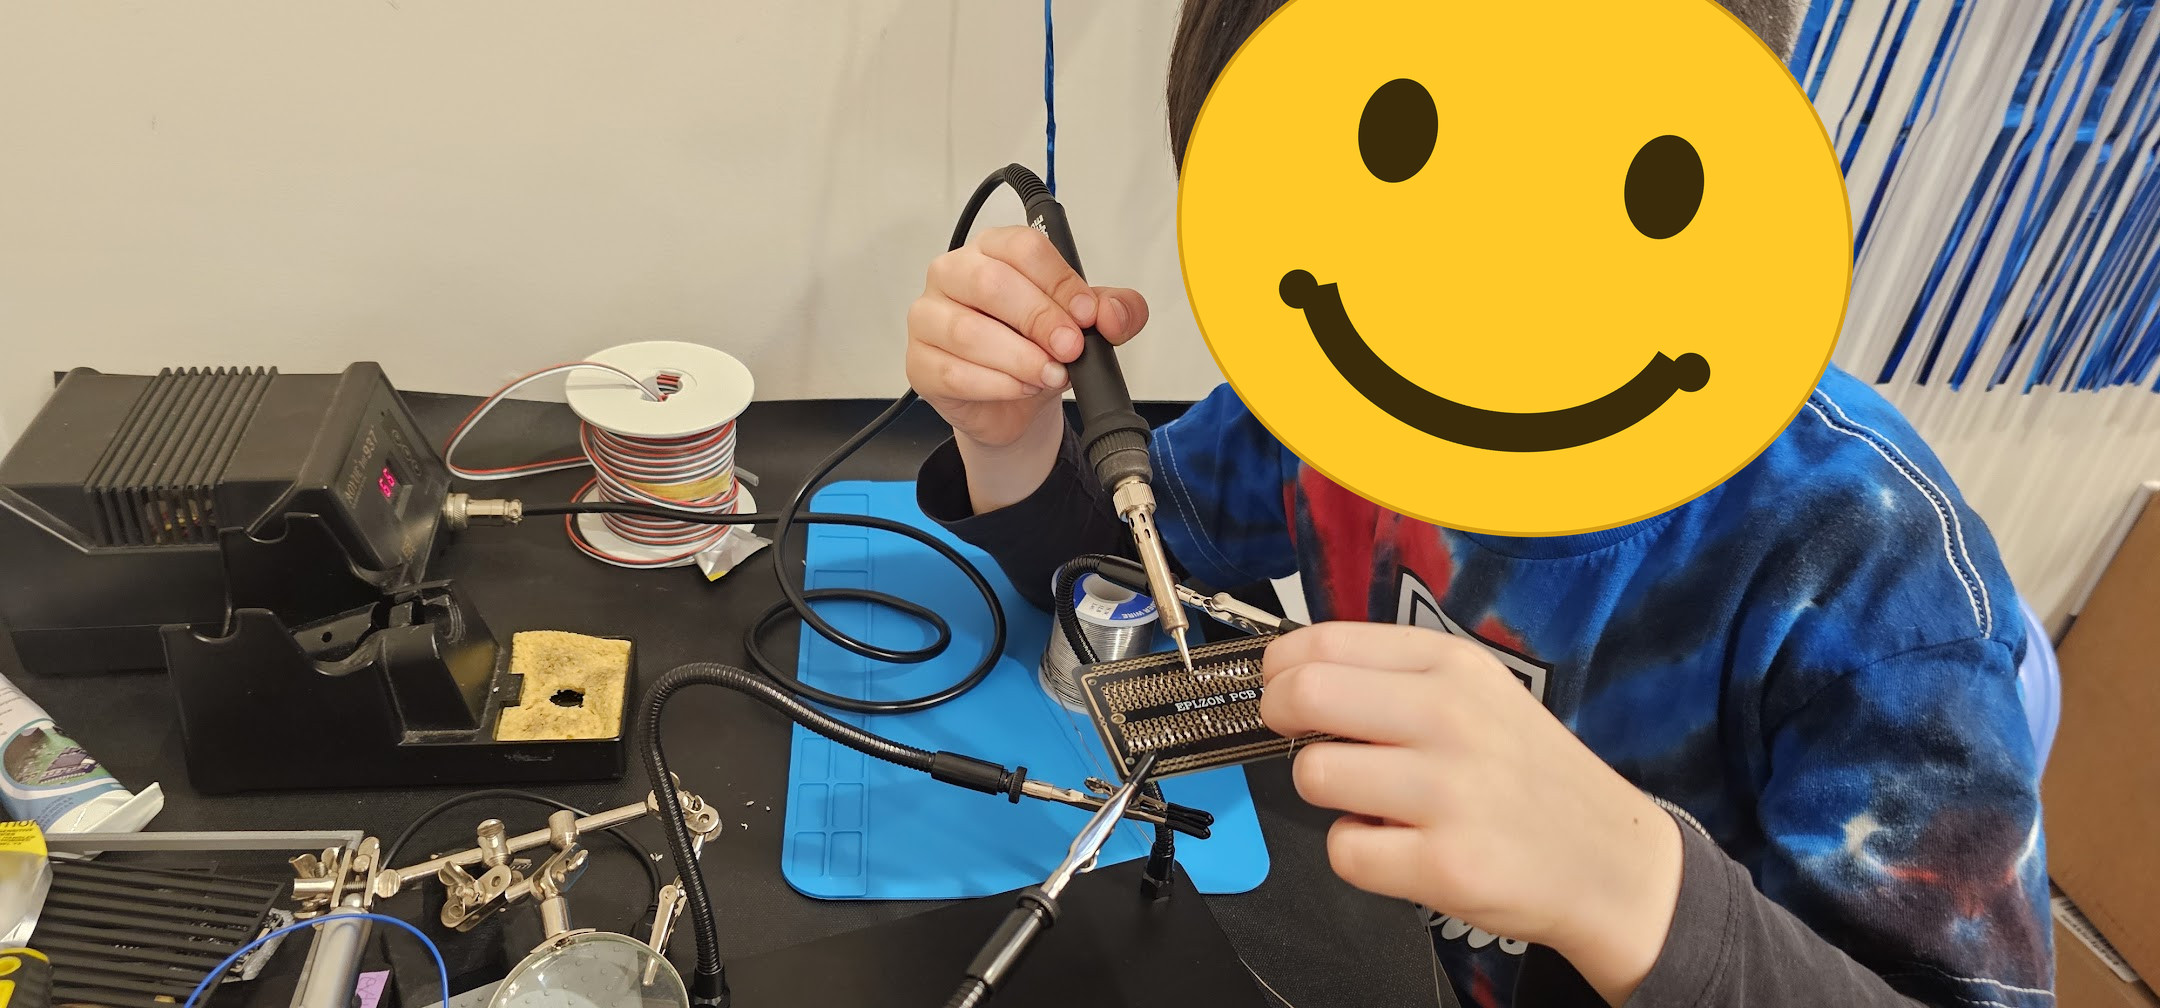
My son did not write C code. What he did do was act as the creative director and the QA department. He decided what animations the robot should have. He watched each one on the physical LED matrix and gave feedback — “the eyes are too small,” “that’s not scary enough,” “make it blink faster.” He picked the colors, and he decided the playlist order — which animation follows which, in the loop the mask runs all evening.
I translated his ideas into prompts and handled the parts where the AI got confused, which with embedded systems was not infrequent. He was engaged the entire time, and he understood — at a 7-year-old level — what was happening: we were telling the computer what to do, and it was figuring out how.
Halloween Night, and Then Science Night
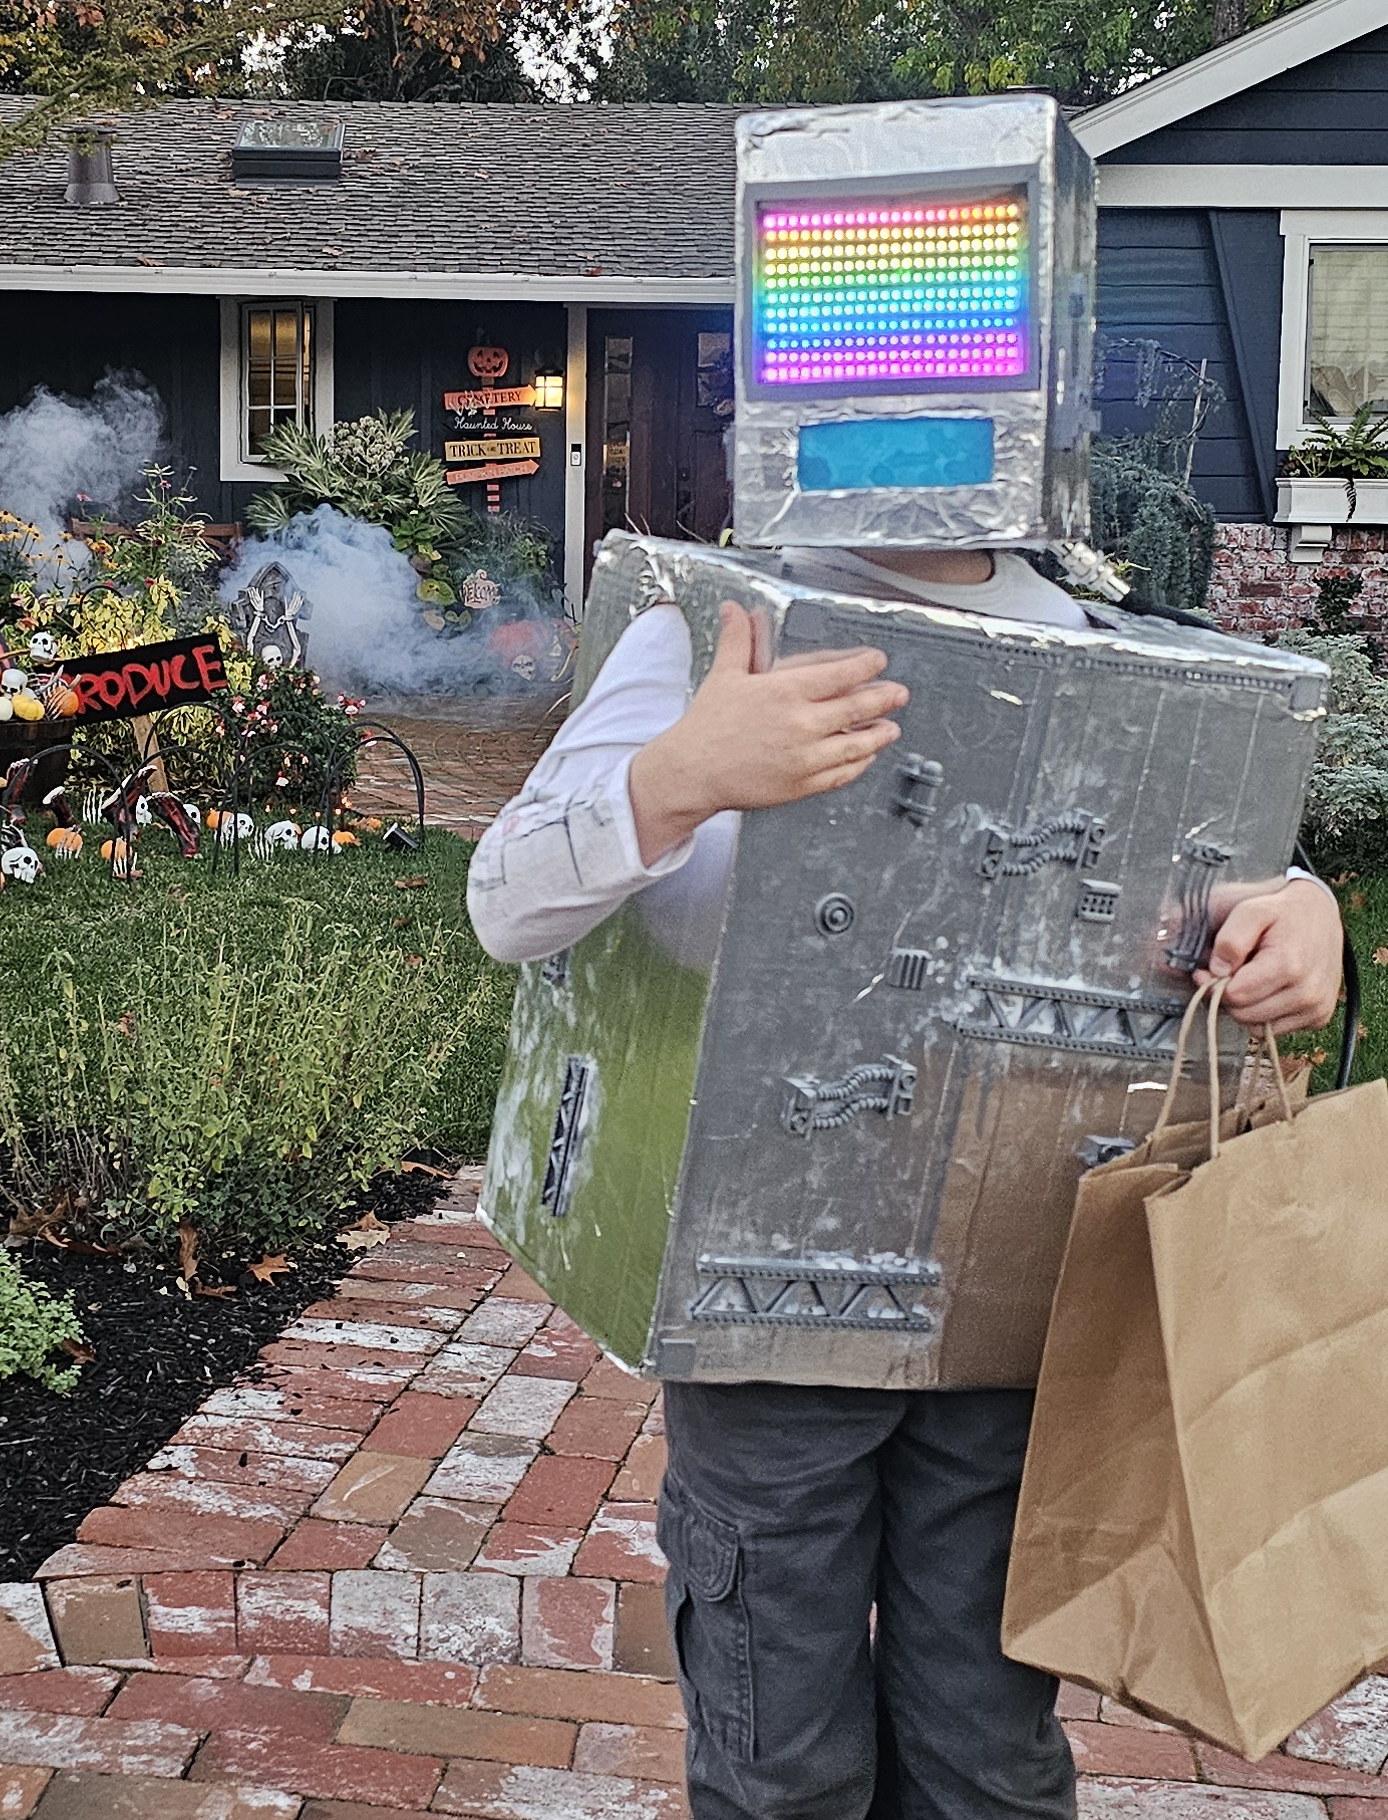
The cardboard-and-tinfoil body stayed exactly as it was. Only the head changed: a box with the LED matrix set into the front, cycling through jack-o’-lanterns, scrolling “TRICK OR TREAT” in orange, flashing “BOO!” in red, and running through robot expressions.
Here is what the firmware says the animations are. This is the whole playlist,
in the order the mask runs it, rendered straight out of led_animations.c — the
same bitmaps, the same color constants, the same 5×7 font, the same frame delays
— at full brightness on an idealized grid:
led_animations.c.And here is the same firmware on the actual mask, at 12% brightness, behind a 3D-printed mesh, filmed on a phone in a dark room:
The gap between those two is most of what the build actually was. The mesh eats light and splits every letter across its slats, the phone camera blooms the LEDs into each other, and 12% brightness turns the pumpkin’s carved features from yellow into something closer to white. None of that shows up until you have the thing in your hands.
No voice changer. That was the original stretch goal, and we had the architecture planned — dual-core ESP32, I2S microphone on one core, LEDs on the other — but two weeks wasn’t enough. The costume was LED-only. He didn’t mind. The other kids were impressed enough.
The project got a second life a few days later at his school’s Science Night. We put together a poster and set up a demo station where other kids could see the animations, touch the components, and try a color-mixing challenge (Red + Green = Yellow on an LED, which surprises them).
What I found more interesting was watching other parents’ reactions. Several of them asked some variation of “wait, you built this with AI?” Most of them remember Arduino as the easy option. Zero to working firmware in two weeks doesn’t fit that.
The AI could generate bitmap arrays and animation loops all day. What it couldn’t do was look at a physical LED matrix and say “that doesn’t look like a pumpkin.” It couldn’t decide that 12% brightness was the right trade-off between visibility and battery life. It couldn’t tell that the screen was mounted upside down. Those calls required a human — in this case, often a very short one with strong opinions about which faces were funny enough to keep. Most of them were not scary at all: hearts, rainbows, a plasma field, Conway’s Game of Life.
Build It Yourself
For anyone curious about the build:
| Component | Details |
|---|---|
| Microcontroller | ESP32 dev board (ESP-WROOM-32) |
| LED Matrix | 11×22 WS2812B RGB LED strip (242 LEDs) |
| Data Pin | GPIO 4 (RMT peripheral) |
| Framework | ESP-IDF 6.0 pre-release, espressif/led_strip 3.0.1 |
| Wiring | Serpentine pattern (alternating row direction) |
| Power | 4× AA straight to the ESP32 and the strip — see the caveat |
| Brightness | 30/255 (~12%) — ~0.2 A measured |
GPIO 4 carries the data line to
242 WS2812Bs, and VIN/GND take the battery pack. The same
pack feeds the strip directly, which is the out-of-spec part described above.Two things in that table are out of spec, and I’d rather say so than have someone copy them and wonder why their strip misbehaves. The WS2812B datasheet puts absolute-maximum VDD at 5.3 V; four fresh alkalines are about 6.4 V, wired straight to the strip with no regulator. And the WS2812B wants its data line at 70% of VDD — 3.5 V on a 5 V rail — while an ESP32 GPIO drives 3.3 V, so the correct part here is a level shifter. There wasn’t one. It ran fine all evening, which is the usual outcome and not a guarantee of one.
On the framework version: ESP-IDF 6.0 was not a released version in October 2025
— it landed in March 2026. The master branch was self-reporting 6.0.0 at the
time, which is what dependencies.lock recorded, so this was built against the
pre-release branch.
The animation library is one file,
led_animations.c — 1221 lines, 25 animations in the playlist, 11 face bitmaps and a 5×7 font. A jack-o’-lantern with flickering, scrolling text, matrix rain, plasma, a Cylon scanner, Conway’s Game of Life.
📎 led_animations.c — the whole animation library, as a gist.
It is the interesting half of the project and it stands alone; the rest of the repo is FreeCAD files, STLs and build scratch. The reference clip above is rendered from this file, so you can check it against the source.
The voice changer is on the list for next year. Or maybe we’ll vibe code something entirely different. The tinfoil is staying either way — it turned out it just needed a better head.